Storr's and Harrison Signage Tutorial
Hi Lovelies,
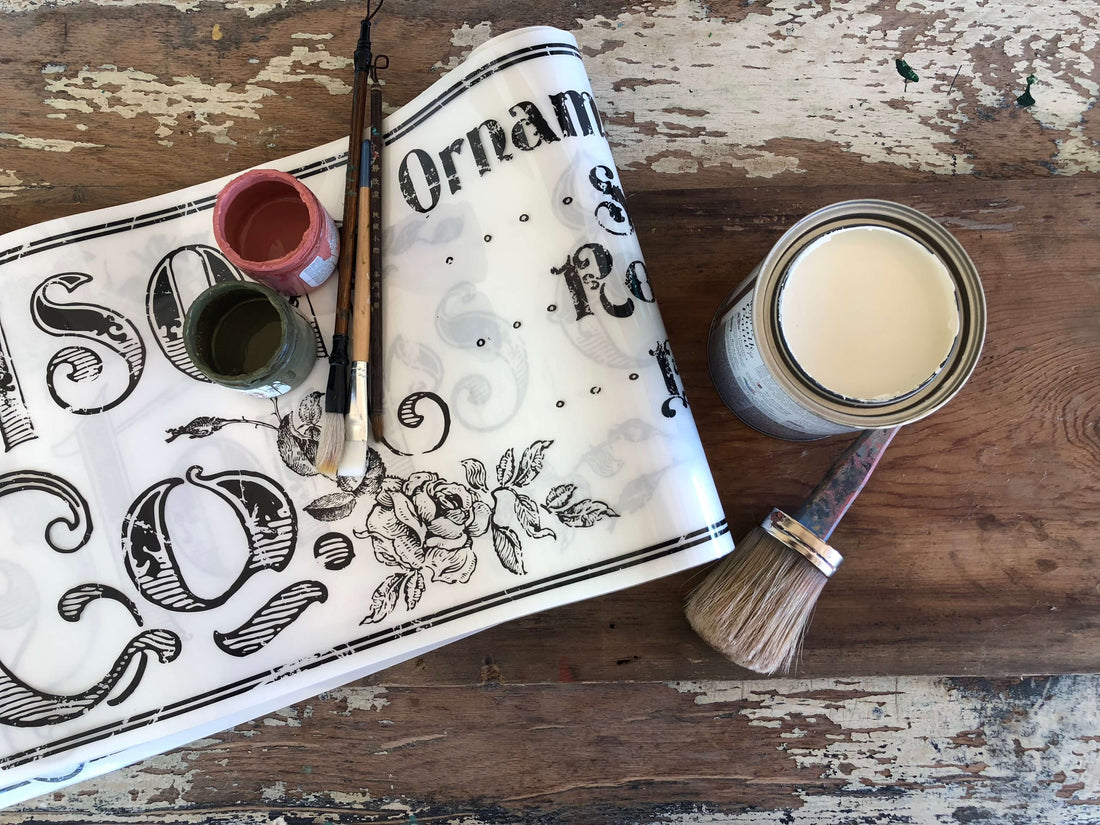
Today we are showing how to create some quick vintage signage that will look beautiful in any space!

Materials
- One plank (I am using 12″x 60″)
- Your IOD decor Transfer (I am using the Storr’s and Harrison)
- White Chalk Style Paint
- Sanding Sponge
- Shop Cloth
- Sealer

-
-
-
1.
Chose a plank that you would like to use to create your sign, make sure it is a good size for your transfer. Sand the plank until smooth.
-
-

-
-
-
2.
Using a clean, dry shop cloth, wipe down the plank to remove all the dust left from sanding. Making sure it is smooth and dry.
-
-
-
-
-
3.
Apply a nice smooth coat of chalk paint (I’m using Annie Sloan’s Old White) with brush strokes in different directions rather than just back and forth.
-
-


-
-
-
4.
Allow paint to dry completely, until it is no longer ‘tacky’ to the touch.
-
-
-
-
-
5.
Line up your transfer on the plank, cutting as needed to fit. Do not remove backing until you are ready to use the transfer to avoid dirt and dust.
-
-

-
-
-
6.
Tape down your transfer, once it is placed where you want it, to keep it from shifting while applying.
-
-

-
-
-
7.
Apply transfer to the plank, make sure to get all areas of the transfer onto plank before removing film.
-
-

-
-
-
8.
Gently distress your transfer with a sanding sponge. Start with a little at a time until you’ve achieved the desired look.
-
-

-
-
-
9.
Using your clean dry shop cloth, gently wipe away any dust left from sanding.
-
-

-
-
-
10.
Apply a wax sealer or waterproof sealer, based on where you are going to place the sign.
-
-

 ×
×