IOD Gallery Wall Episode 7/ Classic Bouquet, Street Sign and Typeset
Wow! We never anticipated the response we would get to this Gallery Wall series! We’re so glad you guys are enjoying it as much as we are! Please don’t forget to make sure you are subscribed to us on our YouTube channel by clicking HERE.

To start at the beginning of the IOD Gallery Wall Series and get the plywood cut plan for the complete wall, please see this post. Or, if you want to WATCH the complete Gallery Wall Series, click here.
To find a stockists nearest to you look HERE!
This post contains a few affiliate links to help you find the products we use. You’re not charged extra to use any of the links, but the few dollars we make will be used toward creating more IOD video tutorials.
Here is all you’ll need to get started on your Gallery Wall pieces:
11 x 16 1/2″ Sande smooth plywood board (Classic Bouquet)
18 x 1 1/2″ Sande smooth plywood boards (Street Sign)
14 x 18 1/2″ Sande smooth plywood board (Typeset)
Classic Bouquet Décor Transfer, Typesetting Décor Stamp, Kindest Regards Décor Stamp, and Craquelure Décor Stamp
White chalk paint
Charcoal grey chalk paint
Dark grey wash (Add water to charcoal grey paint in a 2:1 mixture)
Paint brush
1” Painter’s tape
Straight edge
Razor knife
Clear wax
Wax brush
Hammer
Ruler
Start by sanding and painting your boards with a white chalk paint, and once they are dry add your painters tape to create a matte (we go over this technique in Episode 2). We’ll also be working on our Street sign pieces, which are great things to personalize to commemorate a memory or give as a gift!
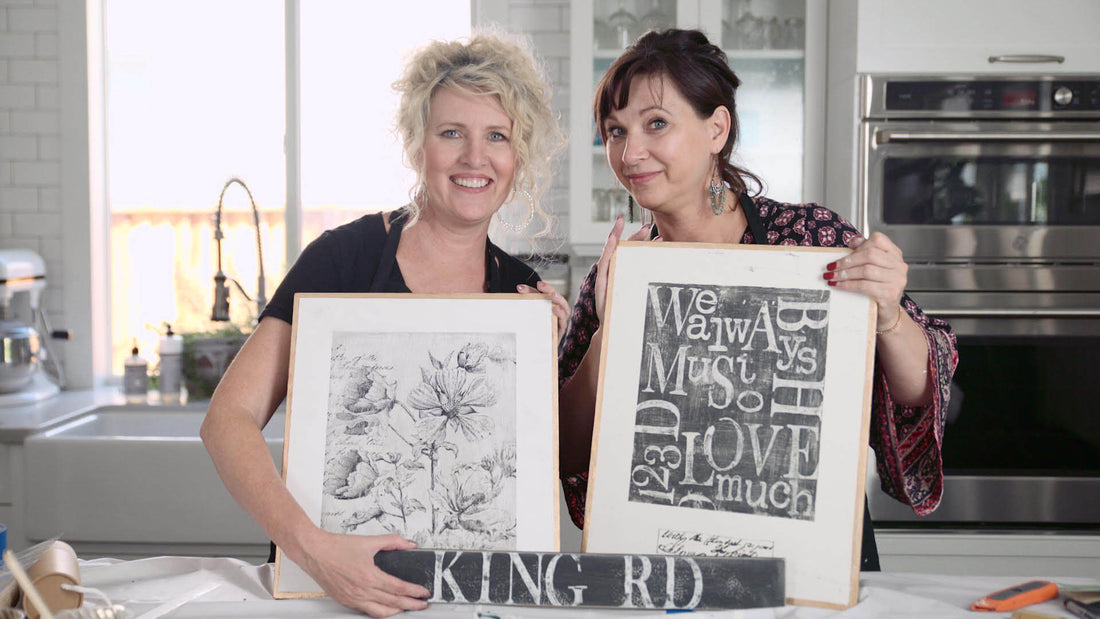
Starting off with the Classic Bouquet piece, cut the lower left transfer off the sheet. Keep the protective backing on the transfer to prevent dust or debris from interfering with adhesion! Hover your transfer over the board to select placement, and trim excess off the ends. Use your hands to first press down, and then use your provided tool to apply the transfer to the board. Burnish the transfer down with a dry shop cloth.
Use a dry brush to apply a charcoal chalk paint to your Typeset piece and allow to dry. Take your letters and arrange a few words over the charcoal background, and use smaller letters and numbers to fill in for a graphic look. Take your thin mount, and stick it to the stamps to keep the design!
Use your brayer to apply a white chalk paint to the letters, working a little quickly to stamp before any letters dry.
It’s time for some personalization! That’s a word, right?? Base coat your Street Sign boards with a dark charcoal and let dry. Arrange lettered stamps to a road or location with meaning for you. Sally chose to stamp “King Rd” on her sign, which is the street where she and her husband bought their first home! Use your brayer to apply white chalk paint to the letters on the thin mount and carefully stamp to the board. Lightly apply the white paint to our Craqueler stamp and “tickle” sections on your sign for a vintage, cracked look!
Back to out Classic Bouquet! Create a wash with 2 parts water 1 part charcoal grey chalk paint, and lightly apply over the transfer. Work from center to the tape to prevent the wash from leaking under your painters tape.
Use gold leaf paint to add a frame around your matte, and (when dry) carefully pull up your painters tape. Lightly sand your Street Sign and Typeset pieces for an aging affect.
Add a little charcoal grey paint to the signature section of our Kindest Regards stamp, and place it in the center of the white bottom section of the Typeset board. Once the paint is dry, use a thin, black pen to lightly draw a box around the signature.
Seal the boards with your sealer of choice, add the simple hangers to the backs, and you have completing another section of your growing gallery wall!
Here are all the other IOD Gallery Wall tutorials in this series:
 ×
×