How to Use Sample Boards for Your DIY Projects

Today we’re chatting about an oft-neglected step in the design process – pre-project sampling. We touched briefly on this in our recent blog post, Beat Creative Fear – 5 Hacks From the IOD Sisters, in the creative play section, but it’s such an important step that it really bears repeating and a little deep dive.
To highlight this lesson, we’re taking an example straight from a video we recently featured by our wonderfully talented friend Jonathan Marc Mendes over at Painted Love: How to use IOD Paint Inlays with chalk paint or lacquer DIY furniture flip.
If you’re curious about IOD Paint Inlays and what you can achieve with this innovative product, then you 100% need to watch the entire video (1hr 14 mins). Jonathan gives some fab tips and techniques, plus absolutely WOWS with his project. It is such an inspiration!

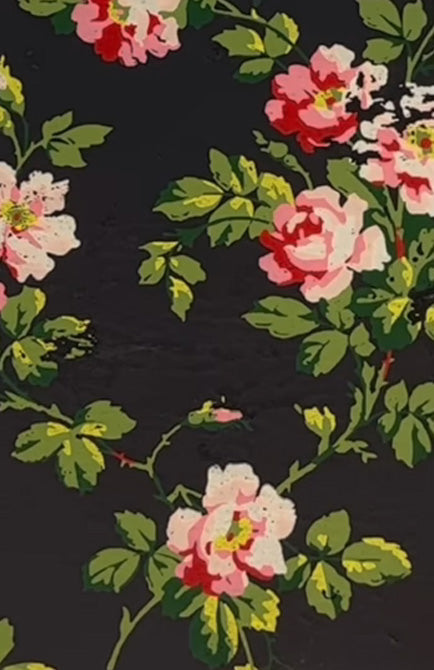
Alright, let’s jump into it! In the first part of Jonathan’s tutorial, he creates two sample boards using our Rose Chintz Paint Inlay. In this case, it is partially a demo for the audience, but it’s also the important first step to creating. Since paint inlays are a relatively new product to Jonathan, he wants to get a feel for how they work, what they look like when inlayed into paint and lacquer, and see what they look like with different paint colors.

When working with a new medium, or material, especially when it will be applied on a large scale project like a dresser, creating a sample can save you so much heartache (and material!) in the long run.
We absolutely swear by sampling because it allows us to:
- Work out technical kinks on a smaller scale
- Test out a new medium or material
- See how a product works when applied over different colors
- Test out different effects and see what we like best before committing to it on a large scale

We’re highlighting this step today because it’s often skipped, citing reasons of waste or expense. But the opposite is true. If you jump straight into your large furniture project without first validating these components, the likelihood of you needing to trash product, repaint, or even strip everything and start again is sooooo much higher!
Pro Tip: Don’t throw out those samples! Label the back with the paint type, color, product used, and any finishes applied and keep them in a sample drawer for future reference. You’ll be glad you did.
Professional artists and designers are constantly employing this technique. Think of any fine artist; what’s the first step? Sketching! In the sketch they work out the proportions, the movement and all the building blocks to create their masterpiece. There is plenty of erasing and reworking at this point! Then they come back in and start to layer on top and build the final piece. Be like the great artists, and don’t skip this foundational step.
Ok, ok, are you tired of hearing us harp on about samples yet!? 😀
Let us know in the comments if sampling is already part of your process or if you’re going to give it a try!
Resources:
IOD Paint Inlays 101 – All you need to know to get started with Paint Inlays
Find a Stockist – Locate your local stockist to grab the IOD Rose Chintz Paint Inlay used in Jonathan’s demo.
 ×
×

DIY Christmas: Create Stunning Fairy Ornam...
Pin this article to save for later Looking for the perfect touch of elegance to adorn your tree or a wonderful handcrafted gift this season? This elegant Christmas fairy ornament is sure to delight, and...

DIY Terracotta Bauble Ornaments with IOD M...
Pin this article to save for later We have a fun one for you today! We made these lovely terracotta bauble ornaments that are going to be perfect for a vintage touch on your Christmas...