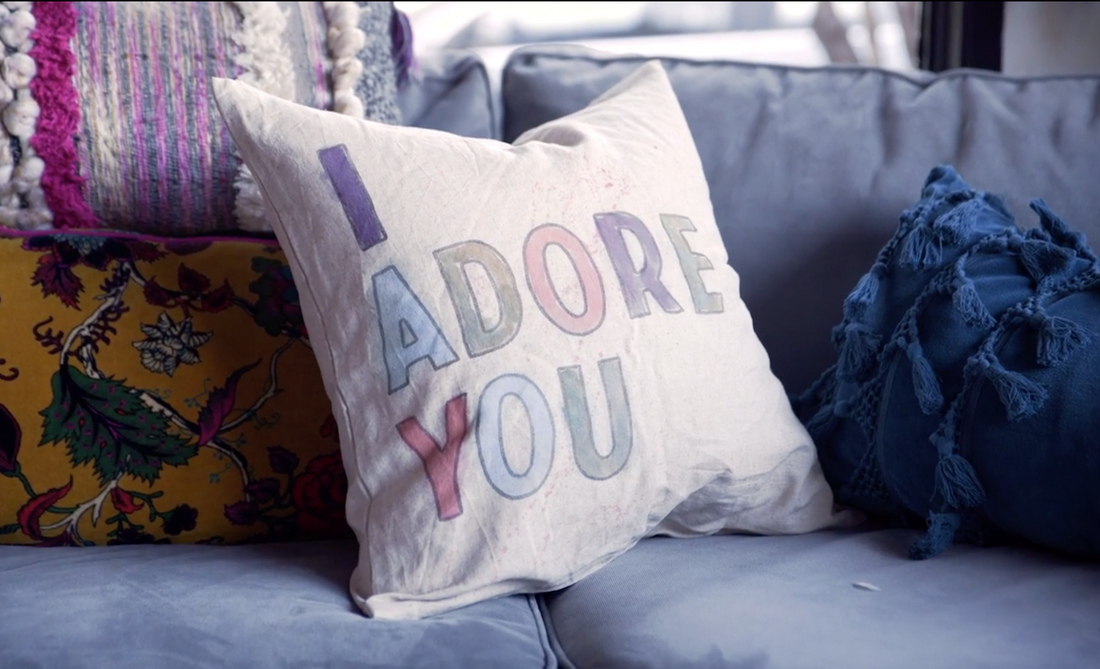
Handmade Holiday Gift Ideas: DIY Modern Boho Pillow Cover
We love this DIY modern boho pillow cover gift idea for soooooo many reasons! Make it say whatever you want in a whatever style with all your favorite colors. Apply this technique to refashion a t-shirt, a throw blanket or tea towels. The creative possibilities and DIY gift ideas are endless once you know how to stamp fabric!
No time now? Pin this post for later.
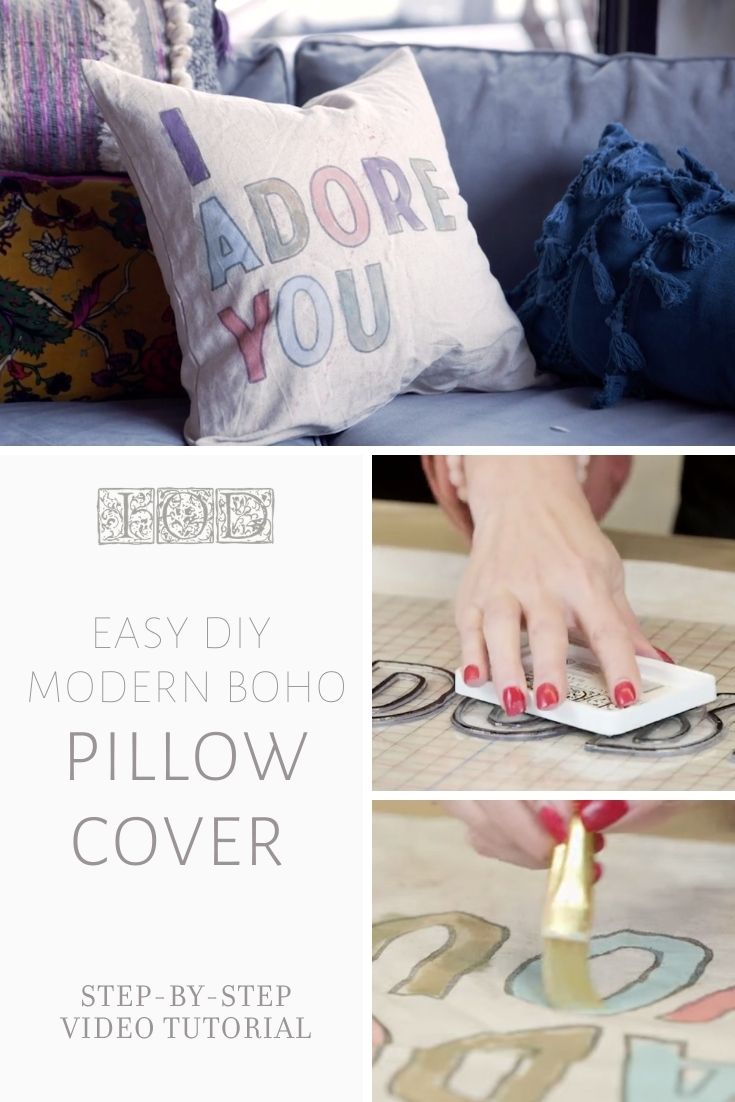
Watch the video below to see all the steps in action, or if you want to read through the supply list and instructions, keep scrolling down.
Here’s everything you need make this DIY Modern Boho Pillow Cover
All IOD products can be purchased from an approved stockist. To find a shop local to you, click here. To find an online store, click here.
(This post contains affiliate links.)
- Retro Stamp by IOD
- Black Decor Ink by IOD
- Blank Ink Pad by IOD
- Thin mount with gridlines by IOD
- 100% cotton pillow cover (or other natural fiber)
- Piece of wood or cardboard to put inside the pillow cover while stamping
- Your favorite chalk-style paint in complimentary colors
- Plastic cups for mixing the color washes
- Water
- Small paint brushes
Keep in mind that you can use any IOD stamps in for this project – pick what suits your interior design style or the style of who you plan to give the pillow to.
If this is your first time using IOD stamps, you’ll need to condition the design side of the stamp. Click here to check out a stamping basics tutorial to show you how.
Step-by-step Instructions for a DIY Boho Modern Pillow Cover
Step 1: Insert a piece of wood or cardboard in the pillow cover.
This prevents the ink from bleeding through to the other side of the pillow cover. It also helps smooth the fabric and gives you a firm, stable surface to work on.

Step 2: Plan out your design and arrange your letters stamps on the pillow cover.
Lay your stamps design side down. Since we decided to DIY our personalized pillow cover with letters, we stamped the middle word first -“adore” – to anchor the design.

Using your thin mount, press it down on the back side of stamps so that the design sticks to it. Use the gridlines as a guide to make minor adjustments to the stamp position if necessary.

Step 3: Refresh or fill the ink pad.
When stamping on fabric, you want to make sure your ink pad is nice and juicy. Whether you’re filling a blank ink pad for the first time, or just refreshing it, the steps are the same.
First, shake your ink bottle well before filling your ink pad. This ensures that any pigment that may have settled is fully mixed.
Next, starting along the outer edge of the ink pad, squeeze a line of ink going along the perimeter of the pad. Repeat this process, going in ever smaller rectangles until the entire pad is covered with ink.
Finally, stop squeezing the ink bottle and use the tip to work the ink into the pad until it’s absorbed into the surface.
Store your ink pads upside down so the ink stays on the surface.
Step 4: Load up your block letter stamps with ink – go extra juicy!
Always stamp on a flat surface and take your ink pad to your stamps.
This means lay the thin mount with the attached stamps on your project surface. Then pat the stamp design with the ink pad. This creates ‘flat to flat’ contact between the pad and the stamps which ensures even ink coverage.

Make sure to fully saturate the stamp design – that’s what we mean by “extra juicy.” Unlike other stamping surfaces, fabric really absorbs the ink so make sure you’re not skimping on the ink.
Step 5: Stamp the pillow cover – DIY modern boho style or however you like!
Holding the thin mount with the stamp side down, hover over the pillow cover where you want to stamp. Then lay the stamps down – “commit, don’t shift” you stamps to get a clean, clear impression.
TAKE YOUR TIME when you stamp fabric because you want the ink to have time to really absorb into the weave.
Using even pressure, take your fingers and gently press (without shifting!) to make sure all the stamp details make good contact with the fabric.

Once you’ve allowed the ink to saturate the fibers, lift the thin mount straight up to prevent smudging.
Step 6: Add some color to the block letters.
Mix the color wash. We wanted a watercolor look so we mixed 1 part paint to 8 parts water. If you want a more intense color, use less water.
Dip your paint brush in the color wash and paint inside the block letters.

Optional: After painting the letters, we created a spattered effect by flicking color wash on the pillow cover.

Step 7: Let your DIY stamped pillow cover dry.
You want to let your project dry for a minimum of 24 hours – but longer is even better.
Step 8: Heat set the design.
This step is critical for keeping your design looking gorgeous. You can do this with a hot iron with NO STEAM. Set it at the highest heat setting recommended for your fabric.
Use this stamping technique to make more than just pillow covers…

For more ideas on using IOD products on fabric, check out this post.

If you love DIY pillow cases, here’s another idea with a monogram or check out this tutorial for a DIY Christmas pillow.

Have you made a pillow cover with IOD? Let us know in the comments below or share a picture with us on social media.
Now, go make something beautiful!
 ×
×