Before You Judge: Read How Painting Saved This Mid-Century Modern Dresser

As Jonathan says, people get prickly when they see Mid-Century Modern furniture painted over. While he certainly sympathizes, the wear on this piece just didn’t make it a fit for a proper restoration. The thin, tiger-striped veneer, which was already eroding at the corners of the drawers, would have eroded entirely under a light sanding, leaving only particle board.
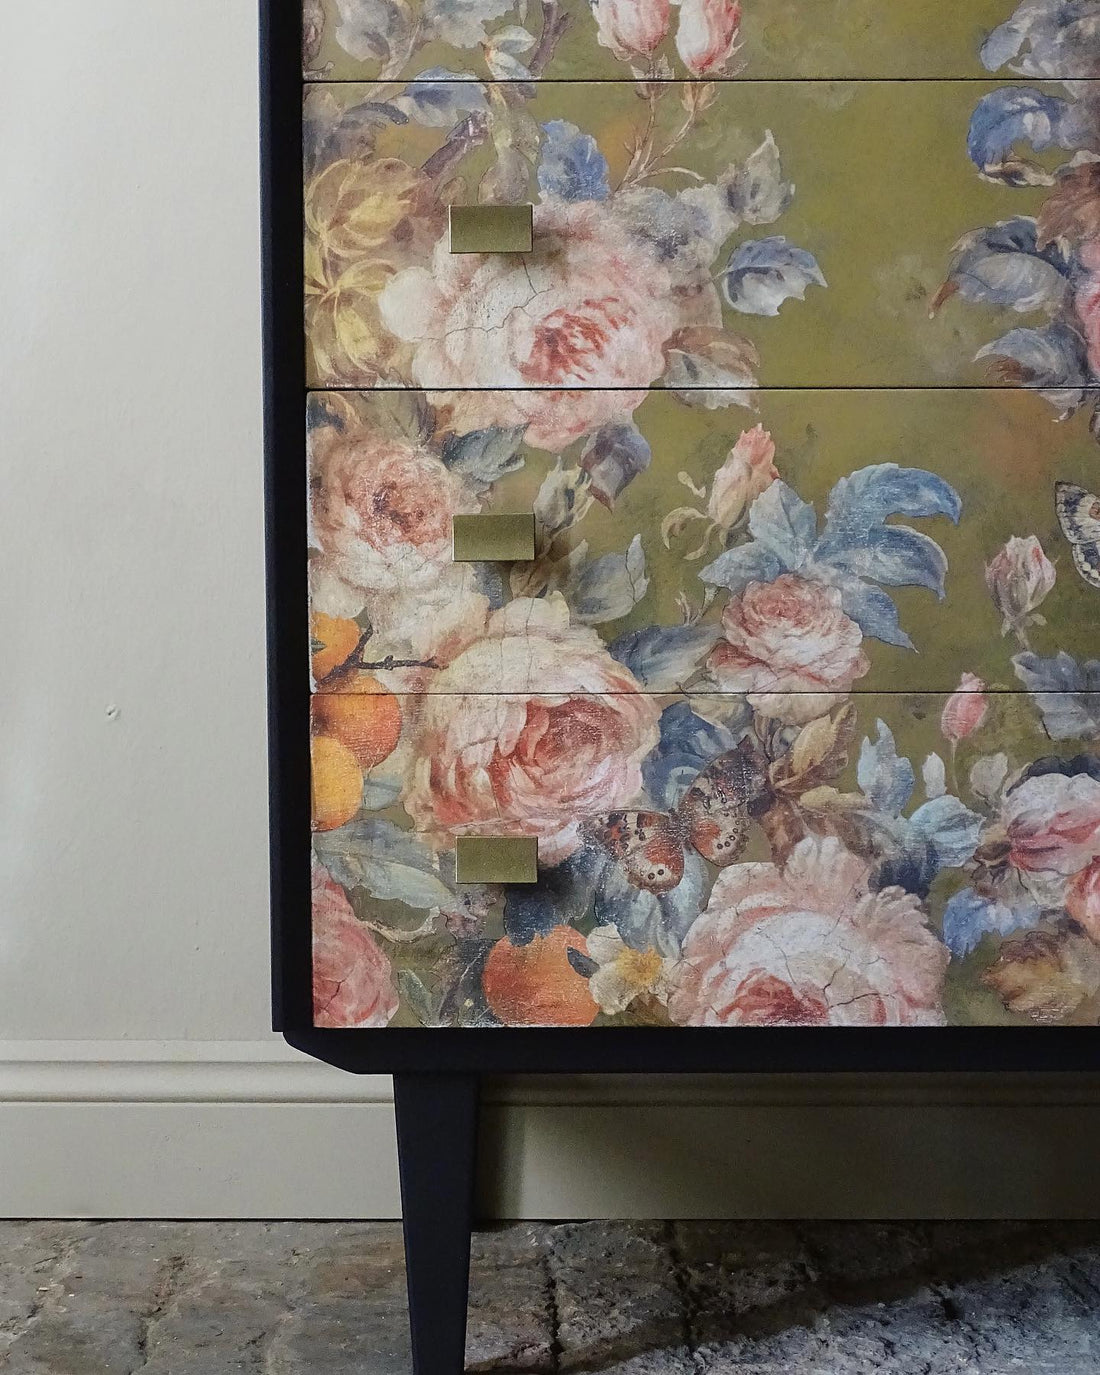
To rescue this piece, Jonathan decided to paint it and give it new life with the Joie Des Roses Transfer, giving it a mid-century look with a vintage vibe.
Planning the Furniture Makeover
Before Jonathan lays a stroke of paint, he evaluates the furniture for areas that need to be fixed and plans out his design. The furniture has a natural separation from top to bottom, so Jonathan envisions a neutral-colored top, almost the look of paper, with a retro mustard yellow base. He will paint the sides and edges black to help bring all the attention to the artwork in the middle.
Using Design Principles to Elevate Your Work
After he preps and applies the base color of paint, it’s time to add some artistic details. Jonathan loosely paints in a background similar to the transfer, ensuring it is soft, blurred, and smaller than the actual transfer so it looks like those elements are in the background. If you’ve watched Jonathan for any length of time, you’ll notice that he always incorporates classic design principles to help elevate his pieces.
If you struggle with creating and things just feel a little “off,” a great place to study is classic art principles like color theory, negative space, balance, and more. A foundational understanding of these principles will take your work to the next level—and don’t worry, you can always break the rules once you know them!
Breaking Apart the Transfer and Creating the Top Wash

Jonathon thinks outside the standard composition of the transfer and instead approaches an application that suits the natural features of the furniture. In this case, he breaks out the sign piece in the Joie Des Roses Transfer for application on the top portion of the furniture.
He takes inspiration from the backplate, which is a paper color with distress, to create his background. This mirroring creates harmony in the piece. He uses a chalk paint wash and brush flicking technique to accomplish this, offloading anything he doesn’t like with a sponge. Pay close attention to this technique in the video tutorial; it creates a beautifully aged background for the transfer.
Before applying his transfers, he adds a top coat and ensures it is thoroughly dried before application.
He finishes the furniture piece with an application of clear wax (remember, wax is always AFTER applying transfers).
At the beginning of this makeover, Jonathan aimed for a mid-century vintage vibe. How do you think he did? We’re pretty smitten, but even if you think painting over a vintage piece is sacrilege, we think there are plenty of great techniques to take away from this one!

Grab your IOD products and supplies by using the store locator and finding a stockist near you.
If you're just kicking off your creative journey, have no fear — our Product 101 pages are packed with straightforward techniques to set you up for success. We're thrilled to accompany you as you explore and create. For more how-tos and creative inspo, make sure to browse through the rest of our blog.
Once you've crafted your final piece, share it with our Facebook Creative Tribe! This community is not just a showcase but also a supportive hub for when you hit those creative roadblocks. And remember, your local stockist is always ready to assist with IOD supplies and expert advice. We're excited to see what you'll bring to life!
 ×
×